Overview
Breaks are a great way to ensure your team gets the downtime they deserve and are required in some workplaces. These can be scheduled, tracked, and even logged on timesheets for visibility and compliance help!
Break Settings
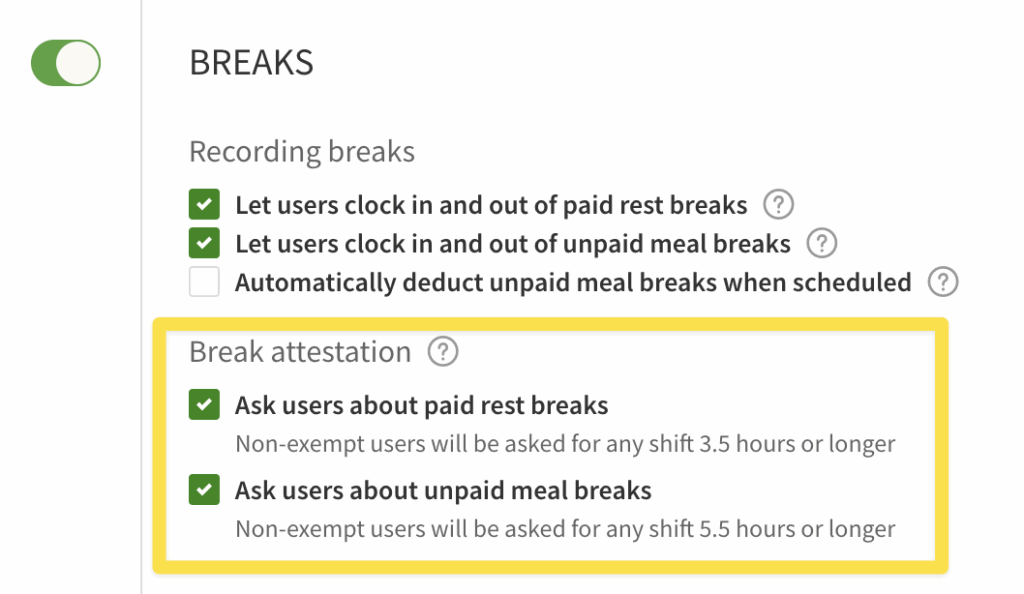
The Breaks section of the Attendance Settings allows you to control how breaks are reported. The toggle switch on the left enables and disables breaks completely for your account. If the Breaks switch is toggled on but none of the options are checked, breaks can still be added, edited and deleted directly on user timesheets!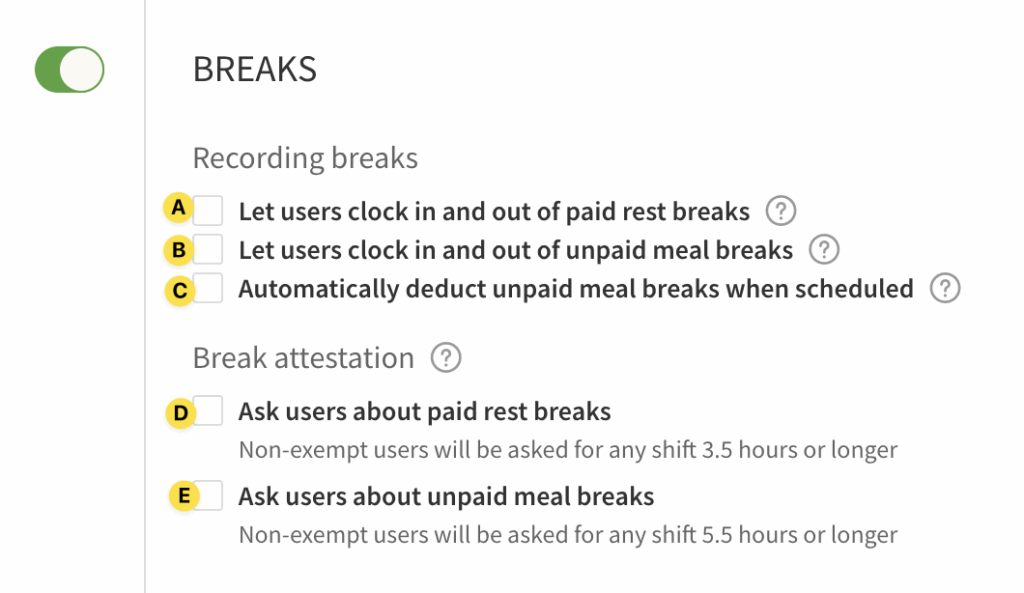
| Callout |
| Name |
| Description |
| A |
| Let users clock in and out of paid rest breaks |
| Allows users to record their paid rest breaks using the Take Break button in the mobile, computer, and terminal time clocks. |
| B |
| Let users clock in and out of unpaid meal breaks |
| Allows users to record their unpaid meal breaks (lunch) using the Take Break button in the mobile, computer, and terminal time clocks. |
| C |
| Automatically deduct unpaid meal breaks when scheduled |
| Unpaid meal breaks set in the shift details are automatically deducted from worked hours on timesheets. |
| D |
| Ask users about paid rest breaks |
| Enables the paid break reporting (attestation) question upon clock out. |
| E |
| Ask users about unpaid meal breaks |
| Enables the unpaid break reporting (attestation) question upon clock out. |
| Callout | Name | Description |
| A | Let users clock in and out of paid rest breaks | Allows users to record their paid rest breaks using the Take Break button in the mobile, computer, and terminal time clocks. |
| B | Let users clock in and out of unpaid meal breaks | Allows users to record their unpaid meal breaks (lunch) using the Take Break button in the mobile, computer, and terminal time clocks. |
| C | Automatically deduct unpaid meal breaks when scheduled | Unpaid meal breaks set in the shift details are automatically deducted from worked hours on timesheets. |
| D | Ask users about paid rest breaks | Enables the paid break reporting (attestation) question upon clock out. |
| E | Ask users about unpaid meal breaks | Enables the unpaid break reporting (attestation) question upon clock out. |
Scheduling Breaks
Scheduling breaks allows you to communicate with your team when they should take their breaks directly within their shifts.
Considerations when scheduling breaks
- Break times cannot overlap with one another
- Break start times must exist within the time of the scheduled shift
- Total break duration cannot exceed total length of the scheduled shift
- Multiple breaks can be added; up to 100 per shift
On a Computer

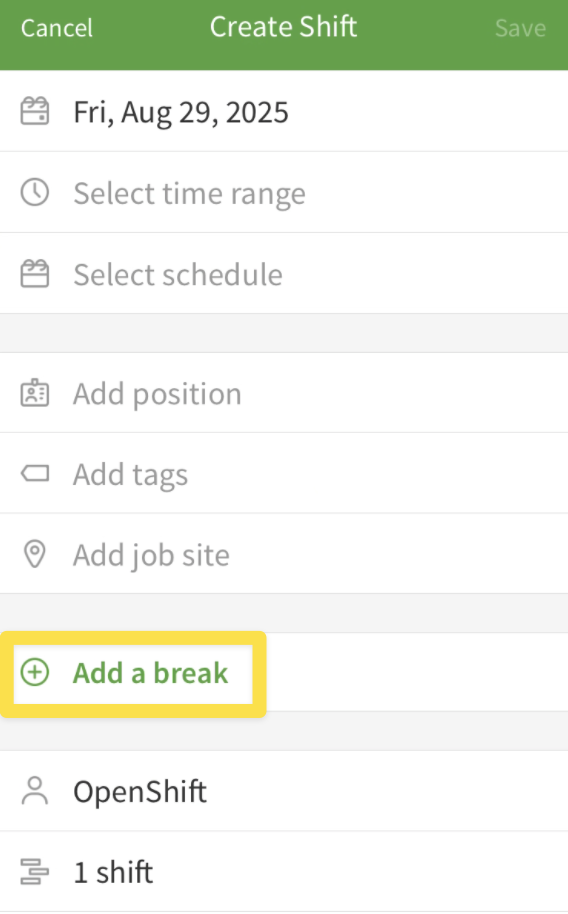
- When creating the shift, click the [+ Add a Break] button
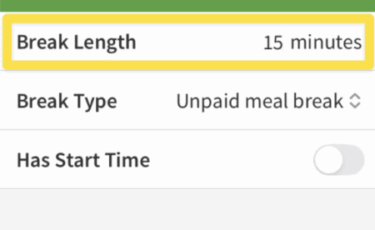
- Add the length of the break
- Choose whether the break is considered paid or unpaid
- Set the optional start time of the break
- Click Add Break to save this break in the shift
On the Android app
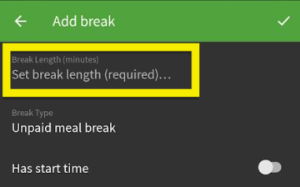
- When creating a shift, tap the Add a break button.
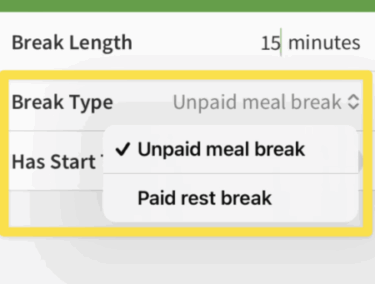
- Enter the length of the break in minutes.
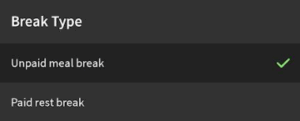
- Tap on the Break Type field and a pop up will appear at the bottom of the app to decide which break type is being scheduled.
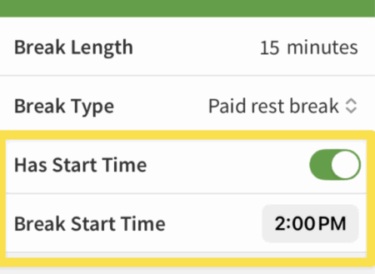
- If desired, toggle the Has start time setting on, then tap on the Break Start Time field and enter the time you want the employee to start their break.
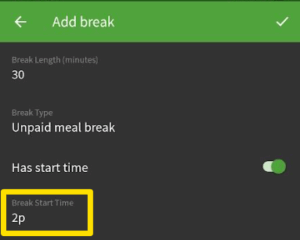
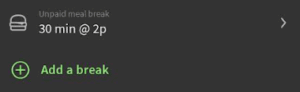
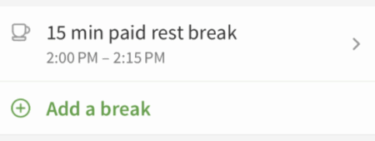
- Tap the in the top right to revert back to the shift details and see the break is now added.
On the iOS app
- When creating a shift, tap the Add a break button.
- Enter the number of minutes for the break length.
- Tap the Break Type field and decide what type of break being scheduled.
- If desired, toggle the Has start time setting on, then tap on the Break Start Time field and enter the time you want the employee to start their break.
- Tap the Done in the top right to revert back to the shift details and see the break is now added.
Taking breaks aka Clocking in/out for breaks
Punching out and in for breaks will log the break into your timesheet. This is great for Managers to ensure their employees took their breaks and when!
*Note: You must be clocked in order to have the option to log a break.
On a Computer
- Click on Attendance at the top of the site.
- Select Take Break from the options.
- To begin a break, select which type of break you are logging and then click Start Break.
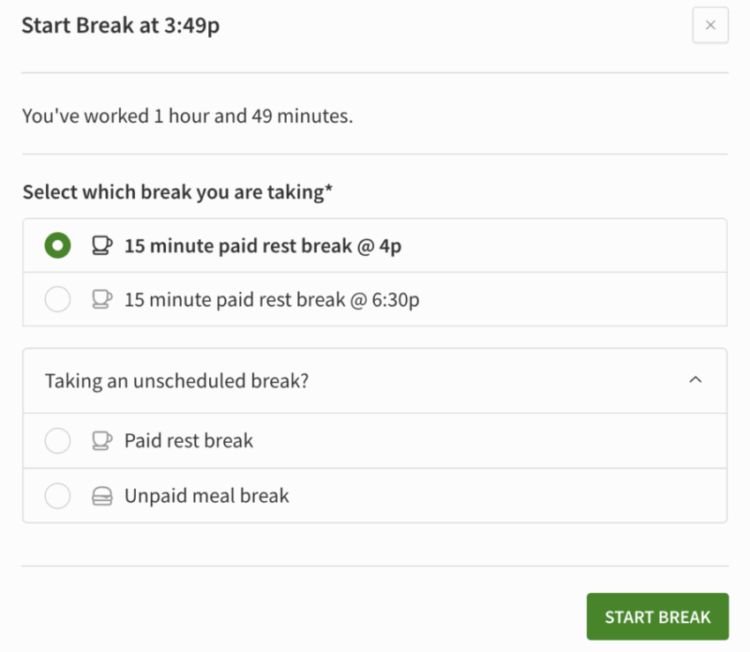
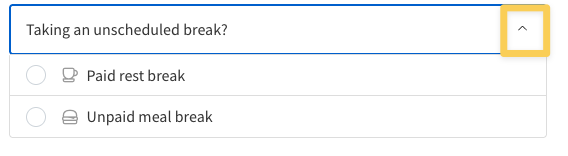
- If this is for a break outside of your regularly scheduled breaks, you can click the Taking an unscheduled break? and then select which type of break you are taking.
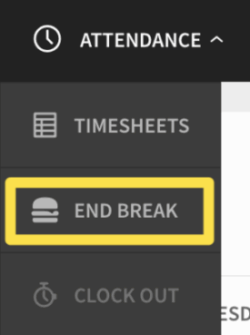
- Once the break is finished, hover over Attendance again and select End Break.
- A new window will appear with details of how long you have been on break. Click End Break to complete the break.
On the Android app
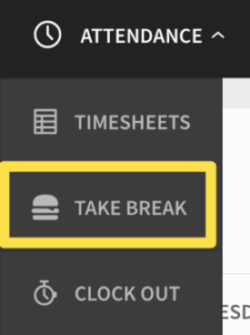
- Tap on Take Break at the bottom of the app.
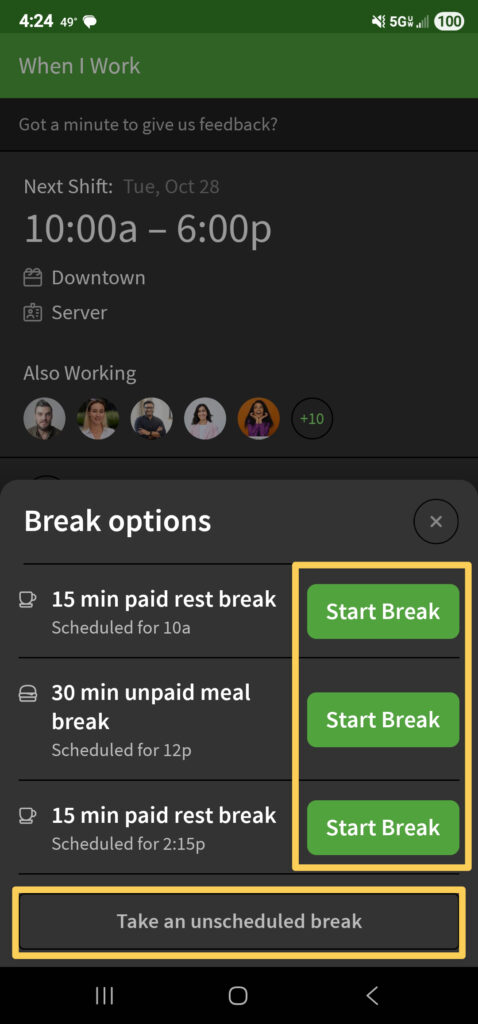
- For Scheduled breaks, tap Start Break by the one you are taking.
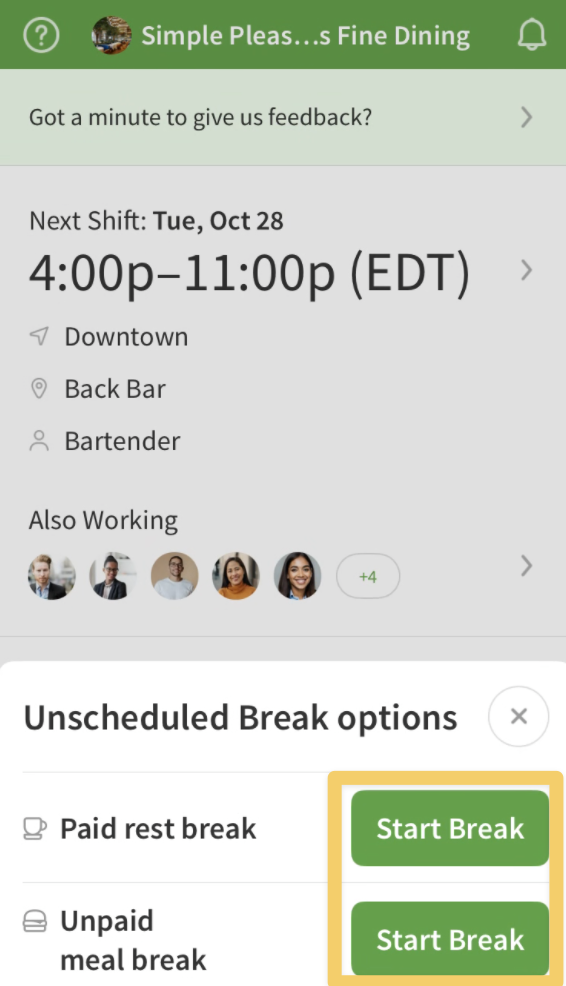
- For Unscheduled breaks, tap Take an unscheduled Break.

- When taking an unscheduled break, you will choose whether the break is Paid or Unpaid. Tap Start Break beside the desired break type.
- Paid rest breaks will be included in your worked hours while unpaid meal breaks will be deducted from those hours.
- When taking an unscheduled break, you will choose whether the break is Paid or Unpaid. Tap Start Break beside the desired break type.
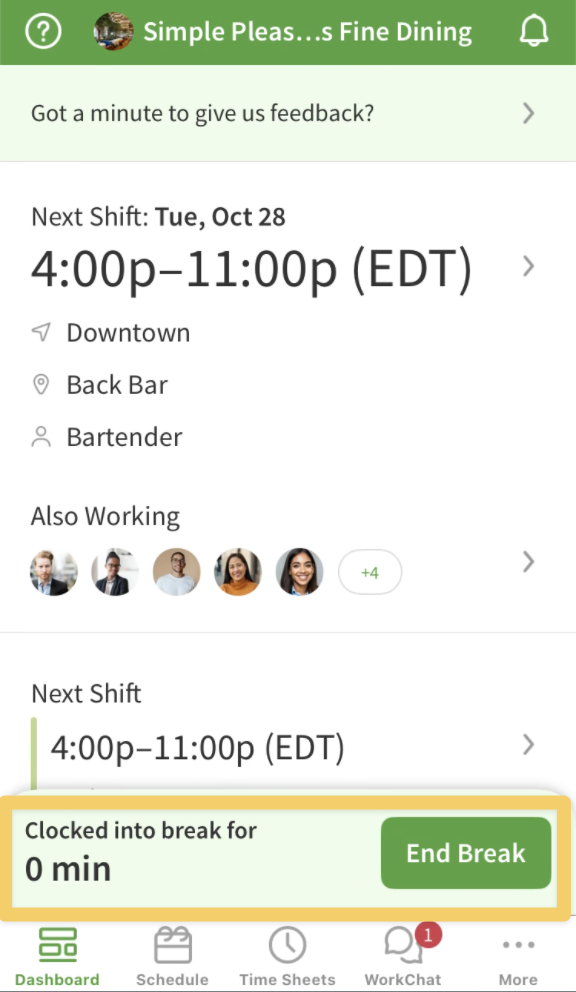
- When the break is over, tap on End Break at the bottom of the app.
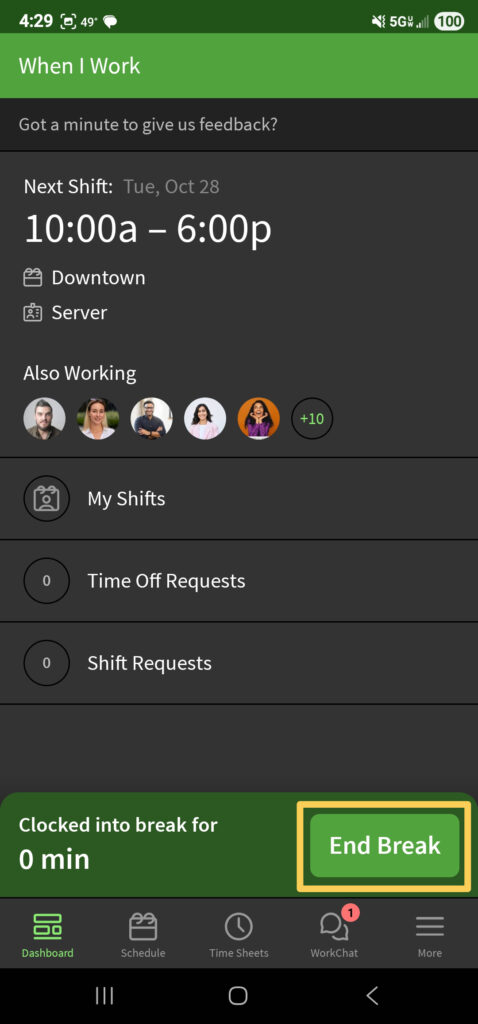
- You will see a pop up to confirm you want to end your break.
- Tap End Break again to log back in from your break.
On the iOS app
- Tap on Take Break at the bottom of the app.

- For Scheduled breaks, tap Start Break by the one you are taking.
- For Unscheduled breaks, tap Take an unscheduled Break.
- For Unscheduled breaks, tap Take an unscheduled Break.
- When taking an unscheduled break, you will choose whether the break is Paid or Unpaid. Tap Start Break beside the desired break type.
- Paid rest breaks will be included in your worked hours while unpaid meal breaks will be deducted from those hours.
- When taking an unscheduled break, you will choose whether the break is Paid or Unpaid. Tap Start Break beside the desired break type.
- For Unscheduled breaks, tap Take an unscheduled Break.
- When the break is over, tap on End Break at the bottom of the app.
- You will see a pop up to confirm you want to end your break.
- Tap End Break again to log back in from your break.
On a Time Clock Terminal
- Enter your Employee ID or email address on the terminal and select .
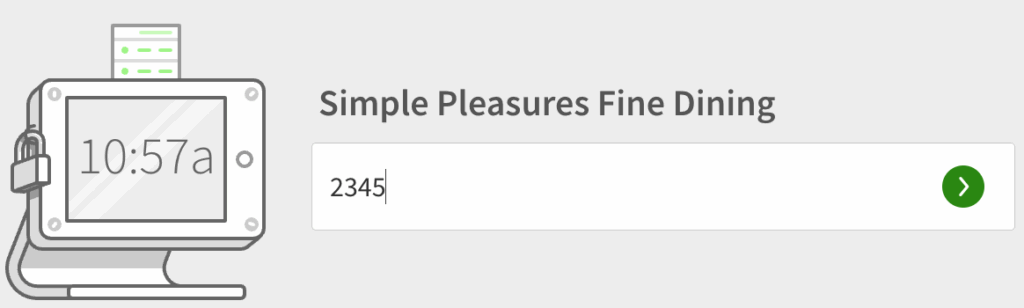
- Select the option to Start Break.

- Choose which type of break you are taking and select Start Break.
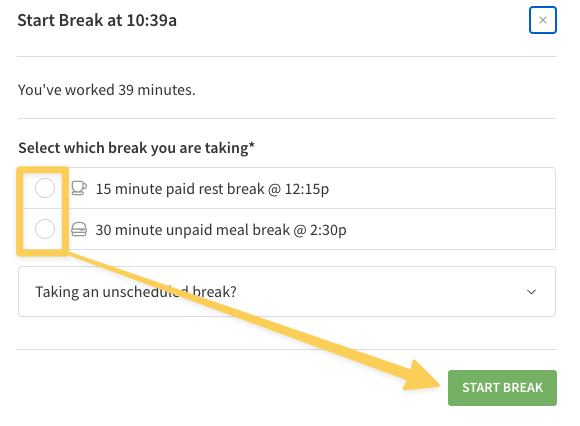
- If taking a break that is not scheduled, select the Taking an unscheduled break drop-down. Choose which type and then select Start Break.
- If taking a break that is not scheduled, select the Taking an unscheduled break drop-down. Choose which type and then select Start Break.
- When your break is over, enter your ID on the terminal again and select End Break. You will see a message letting you know how long you have been on break. Select End Break again to end your break.

Using Break Attestation
When enabled, break attestation requires users to report if they have taken breaks during their shift upon clock out.
If a “no” answer is provided, they will be required to enter a note explaining why they did not take the break. Any missed breaks and explanations will be included on timesheet exports on the “Breaks” sheet.
Enabling Attestation
Hover over , then select Attendance Settings.
- Scroll down to Breaks,then check Ask users about paid rest breaks to have them prompted about paid breaks and Ask users about unpaid meal breaks to have them prompted about unpaid lunch breaks upon clock out.
- Click Save in the top-right corner of the screen.
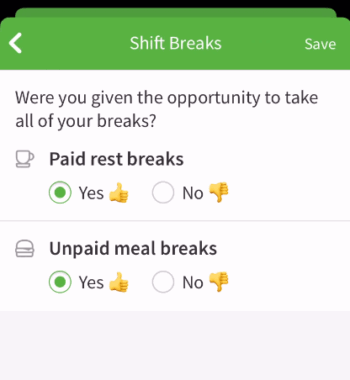
Reporting Breaks with Attestation
You will be asked about breaks based on the account settings above. For example, if management checked only “Ask users about unpaid meal breaks”, you will not be required to report on any paid rest breaks.
Breaks are recorded upon clock out.
You may be asked about both types of breaks, only one type of break, or none at all.
You will only be prompted to report on paid breaks if you have worked a minimum of 3.5 hours and unpaid breaks if you have worked a minimum of 5.5 hours.
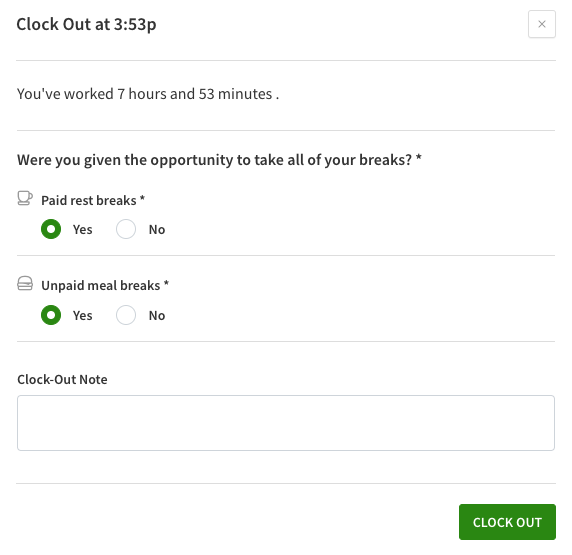
On a Computer app
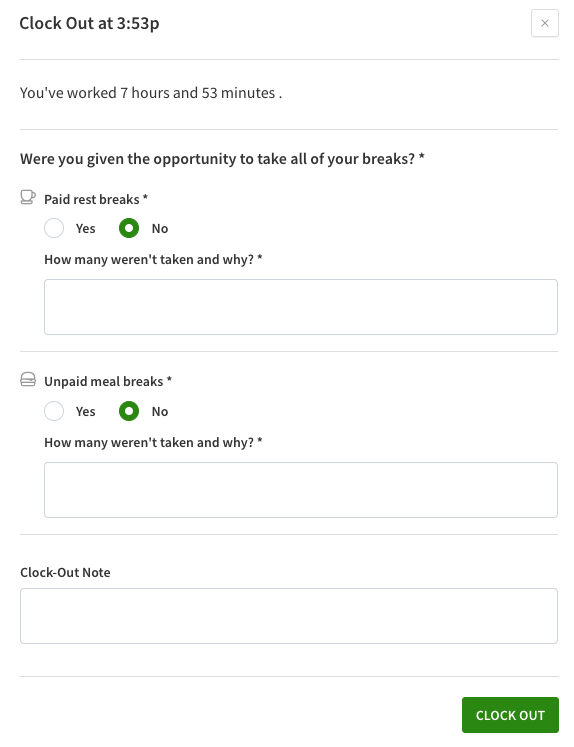
Hover over Attendance, then select Clock Out.
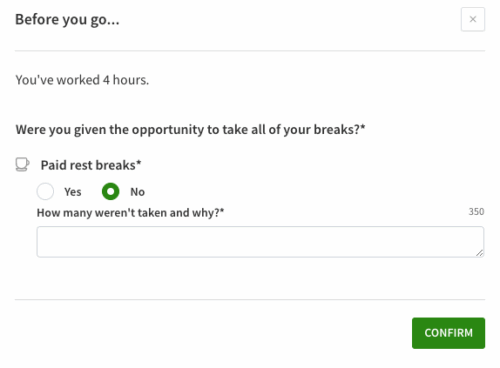
- Click Yes or No to answer the prompt.
- If Yes, select Yes and then click Confirm to clock out.

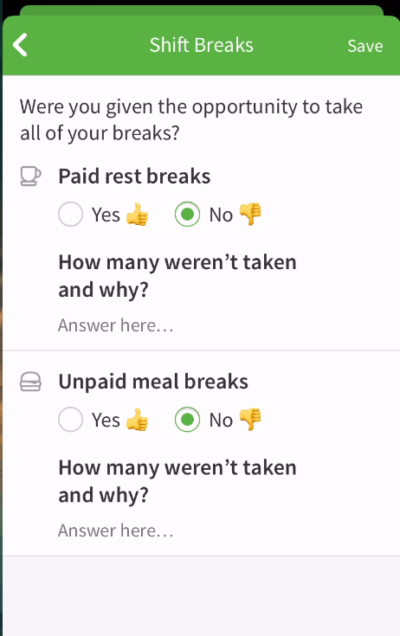
- If No, select No,
- A new field appears asking “How many weren’t taken and why?”. Answer this required field with any information your manager may need as to why a break was not taken and then click Confirm. You are clocked out for your shift and any missed breaks are recorded on your timesheet.
- A new field appears asking “How many weren’t taken and why?”. Answer this required field with any information your manager may need as to why a break was not taken and then click Confirm. You are clocked out for your shift and any missed breaks are recorded on your timesheet.
- If Yes, select Yes and then click Confirm to clock out.
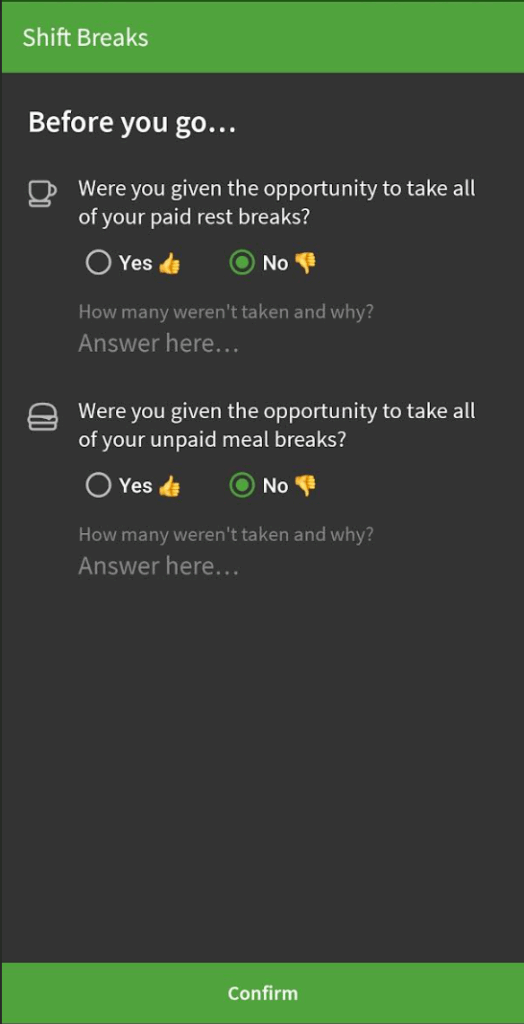
On the Android app
- Tap Clock Out on the Dashboard.
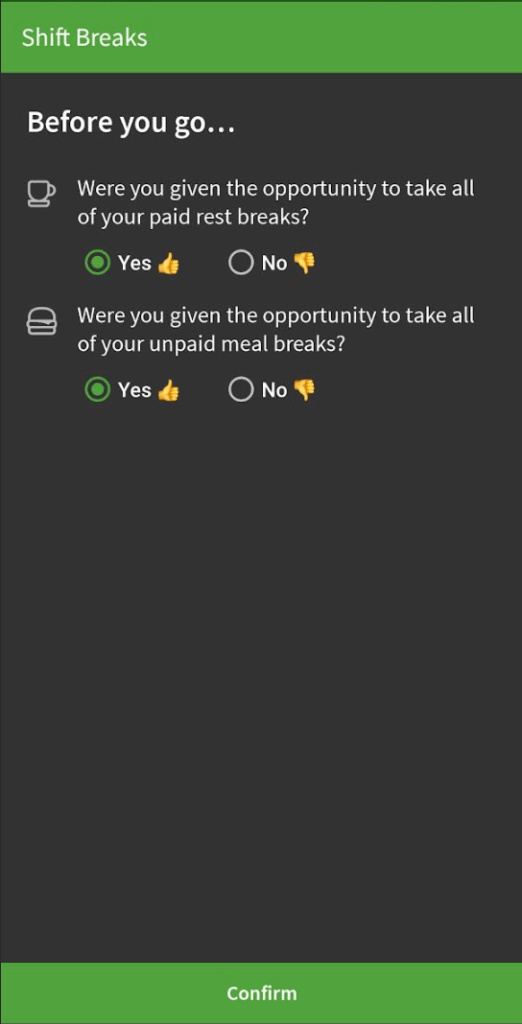
- Tap Yes or No to answer the prompt.
- If Yes, select Yes and then tap Confirm.
- If No, select No.
- A new field appears asking “How many weren’t taken and why?”. Answer this required field with any information your manager may need as to why a break was not taken and then tap Confirm. You are clocked out for your shift and any missed breaks are recorded on your timesheet
- A new field appears asking “How many weren’t taken and why?”. Answer this required field with any information your manager may need as to why a break was not taken and then tap Confirm. You are clocked out for your shift and any missed breaks are recorded on your timesheet
- If Yes, select Yes and then tap Confirm.
On the iOS app
- Tap Clock Out on the Dashboard.
- Tap Yes or No to answer the prompt.
- If Yes, select Yes and then Clock Out.
- If No, select No.
- A new field appears asking “How many weren’t taken and why?”. Answer this required field with any information your manager may need as to why a break was not taken and then tap Confirm. You are clocked out for your shift and any missed breaks are recorded on your timesheet.
- A new field appears asking “How many weren’t taken and why?”. Answer this required field with any information your manager may need as to why a break was not taken and then tap Confirm. You are clocked out for your shift and any missed breaks are recorded on your timesheet.
- If Yes, select Yes and then Clock Out.
Time Clock Terminals
This will be the same process on the computer terminal, the Android terminal, and the iOS terminal.
- Enter your employee ID or email address.
- Click .
- Tap Yes or No to answer the prompt.
- If Yes, select Yes and then click/tap Clock Out.
- If No, select No.
- A new field appears asking “How many weren’t taken and why?”. Answer this required field with any information your manager may need as to why a break was not taken and then click/tap Clock Out. You are clocked out for your shift and any missed breaks are recorded on your timesheet.
- A new field appears asking “How many weren’t taken and why?”. Answer this required field with any information your manager may need as to why a break was not taken and then click/tap Clock Out. You are clocked out for your shift and any missed breaks are recorded on your timesheet.
- If Yes, select Yes and then click/tap Clock Out.